|
Ch.1 — Plain OS installation |
Windows Server 2016 series introduction
NOTE: Technical preview versions of software packages are provided before the final release of a product so IT pros can learn and test new features and functionality and provide development teams with active feedback. In addition, companies, such as Microsoft in this case, are able to gather insight into additional uses cases that might not have been considered earlier.
Windows Server 2016, the latest addition to the Windows Server family, is set to become generally available (GA) at some point in 2016. At the time of this writing, the Technical Preview 5 (TP5) of Windows Server was used as a reference. TP5 was just released on April 27, so this blog is hot off the presses!
Throughout the course of this blog series, I will focus on helping you get Windows Server 2016 and Hyper-V 2016 up and running in an environment as quickly as possible. This first post discusses obtaining the installation media and performing a bare-metal, plain operating system installation. Next, I will graduate up to more complex activities such as how to leverage zero downtime and the rolling cluster installation option. The goal of this multi-part blog series is to arm you with the necessary tools and knowledge to take full advantage of Windows Server 2016 when the GA occurs.
Note: Running any type of production workload based on technical software previews is NEVER recommended. It is also a best practice to perform clean server installations and to avoid upgrading previous versions.
Deploying Windows Server 2016
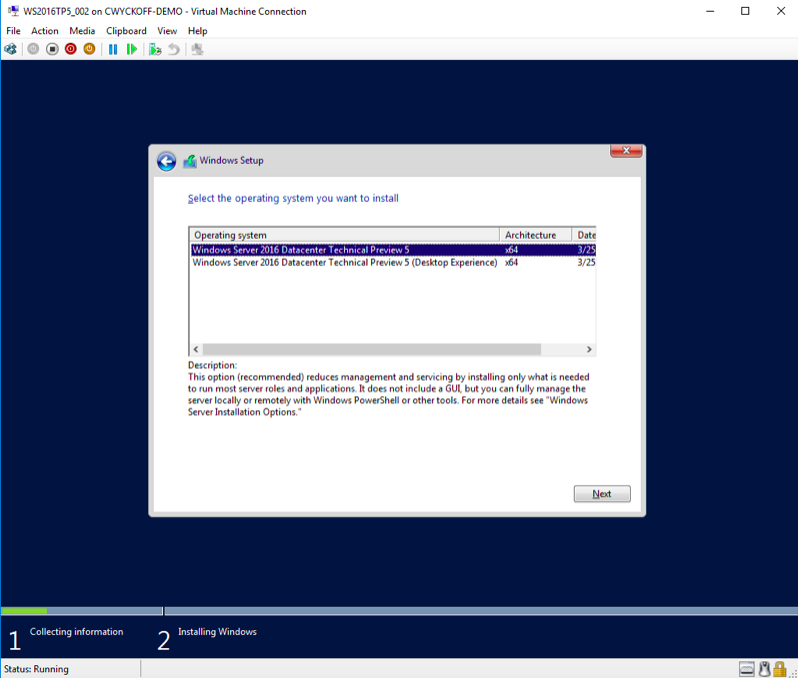
Deploying Windows Server 2016 is quite similar to deploying previous versions. Windows Server 2016 comes in two editions: Standard and Datacenter. Both editions are deployable in full GUI or Core modes. Nano server is a component included in the installation media and it is built from the Windows Server ISO. Installing Windows Server 2016 is an easy process that should not take much time, regardless of whether it is being deployed on a physical piece of bare metal hardware or deployed within a VM.
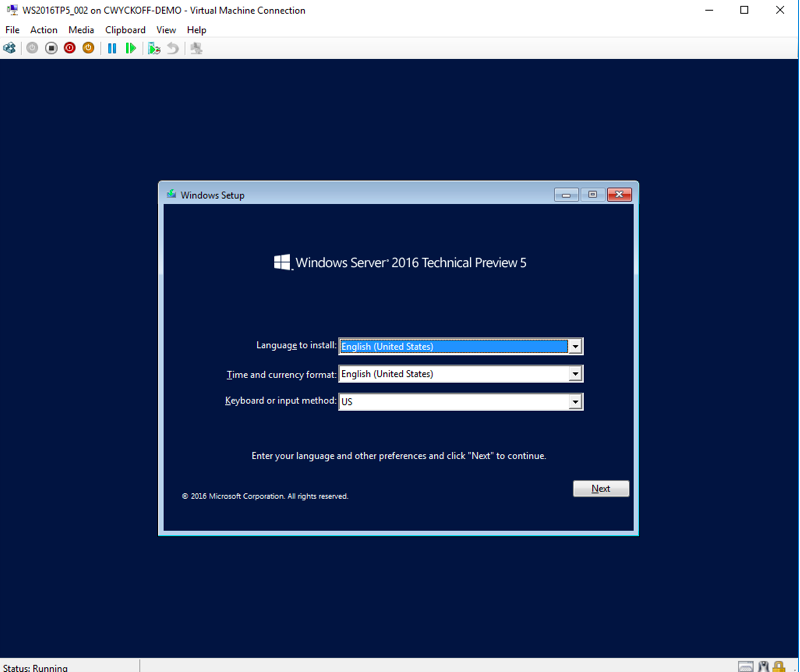
To start the installation, you must first obtain the ISO media, there are a few ways this can be achieved. First, if you have an MSDN Subscription visit the downloads section. Alternatively, the TechNet Evaluation Center is the best method of obtaining any evaluation software Microsoft has available. Once downloaded, mount the ISO image for Windows Server 2016 to the Hyper-V host, or upload to your vSphere datastore of choice. If Windows Server is being deployed on a physical piece of bare metal hardware I recommend the Windows USB / DVD Download Tool, a free utility, helps with creation of the bootable media. Another free open source tool that I recommend using with the ISO image creation is Rufus, which DOES support the creation of UEFI boot media. Double score!
Once you have the ISO image and decide to deploy on either a virtual (Hyper-V or VMware) or physical server, follow the normal process for creating a new virtual machine by allocating the necessary CPU, Memory and Disk. My general recommendation, for just basic testing is 1 vCPU and 2 GB vRAM. For instance, if you’re trying to test out a specific scenario like VDI or testing many of the <https://www.veeam.com/wp-windows-server-2016-virtualization.html”>new features in Hyper-V 2016, then obviously this will require more resources. After the new VM shell is created, it will be time to deploy the operating system!
As previously mentioned, Windows Server can be deployed in Desktop Experience (GUI) or in Core mode. The recommendation is to only deploy in GUI mode (Desktop Experience) when it is absolutely 1,000% required for the VM. Server Core mode removes the GUI and provides only a minimal User Interface, while an additional option within Server 2016 is Nano Server, which contains an absolute headless operating system. The rest of the Windows Server installation is quite straightforward and really not changed inside of the Technical Preview builds.
If on-premises deployments are not your forte and you have an Azure Subscription, this is also a feasible option for getting educated about Windows Server 2016 TP5, without needing to use any of your own compute resources.
PowerShell deployment of Hyper-V VM
But what if you want to automate some of these steps? PowerShell to the rescue! Below is an example that would achieve the same exact result, but in a much quicker and more repeatable fashion than done through the GUI. As an additional option, you can leverage Unattend.xml to completely automate the entire build process.
$VMName = "YourVMName"

New-VM -Name $VMName -Generation 2 -SwitchName Ext001 -MemoryStartupBytes 2048MB -NewVHDPath "C:\Users\Public\Documents\Hyper-V\Virtual hard disks\VMName.vhdx" -NewVHDSizeBytes 10GB |
Set-VM -DynamicMemory -ProcessorCount 2
Add-VMDvdDrive -VMName $VMName -Path “C:\Users\cwyckoff-demo\Downloads\en_windows_server_2016_technical_preview_4_x64_dvd_7258292.iso”
$dvd_drive = Get-VMDvdDrive -VMName $VMName
Set-VMFirmware -VMName $VMName -FirstBootDevice $dvd_drive
vmconnect.exe localhost $VMName
Start-VM -Name $VMName
Conclusion
Windows Server 2016 introduces many cool features and functionalities. This blog was written to illustrate how fast and easy it is to get a Server 2016 test environment in your lab. Be on the lookout for the rest of the Server 2016 blog series over the course of the coming weeks.
If you’ve been testing Server 2016, share your comments below. I would love to hear what you’re most excited about!
